Welcome to OptiSolex! Whether you’ve just unboxed your SolexBrick S1 or are setting up your first solar charging system, this guide will walk you through the key steps to get your system up and running smoothly. We’ll cover everything from proper setup and safe connections to simple tips for expanding your solar array down the road. With the SolexBrick S1 at the heart of your system, you’ll be ready to power your off-grid adventures, RV trips, or backup setup with confidence — no guesswork required.
Let’s dive into how the SolexBrick S1 works, how to connect your panels and battery correctly, and how to avoid common pitfalls that could impact your system’s performance.
Pre-Setup Preparation
Your OptiSolex SolexBrick S1 is built for reliable, long-lasting performance, but like any electrical devices, safety should always come first. Before you start connecting and powering your system, a little planning will ensure it operates safely and efficiently.
Initial Setup Planning – Determine your solar panel and battery specifications, and the number of S1 units needed
Step 1: Choose Your Battery
Ensure your battery is compatible with your solar setup:
① Select the appropriate battery voltage level based on your load type (The information is on the battery nameplate or spec sheet). The S1 automatically detects 12V/24V/48V systems.
② Check whether the system’s maximum output current matches your battery
First, calculate the maximum output current by dividing the total STC maximum power of your solar panels by the battery voltage. Here is the formula:

Second, ensure the maximum charge current of the battery is greater than the total output current of all SolexBrick S1 units.
![]()

③ If your battery is a 48V system, you’ll need to connect multiple S1 units in series. Since the S1 is a buck converter, the total open-circuit voltage of the system must exceed 72V to charge the battery properly. However, a single S1 has a maximum input voltage of 50V and cannot directly charge a 48V battery. Therefore, at least two S1 units must be connected in series.

Step 2: Solar Panel + S1 Series/Parallel Setup for Efficient Charging
The SolexBrick S1 can be used alone, in parallel, or in series. For each S1, you can connect solar panels of the same specification in series or parallel. This allows a modular setup: connect solar panels or panel combinations to the S1, and then connect multiple S1 units in series or parallel.
So what are the limitation and what parameters should you pay attention to?
① For a single S1 or multiple S1 units in parallel
• Keep total power input ≤ 450W
• Ensure the open-circuit voltage input to the S1 is between 18V and 50V
• There is no limit to the number of S1 units in parallel (but keep an eye on the total output current to avoid exceeding the battery’s maximum charge current)

② For multiple S1 units in series
• Keep total power input per each S1 ≤ 230W
• Ensure the open-circuit voltage input to each S1 is between 10V and 50V
• A maximum of 3 S1 units can be connected in series

③ Plan the open-circuit voltage to match the battery voltage
Different voltage levels require specific total open-circuit voltages for the S1 to operate properly, as determined by basic electrical principles. Therefore, you need to design your series/parallel connections of your solar panels accordingly. The required parameters for each battery voltage level are listed below:
• For a 12V battery: Solar Panel Array Open-Circuit Voltage ≥ 18V
• For a 24V battery: Solar Panel Array Open-Circuit Voltage ≥ 36V
• For a 48V battery: Solar Panel Array Open-Circuit Voltage ≥ 70V

Installation Phase: Connecting the Battery, S1, and Solar Panels
⚠️ Important Safety Note
Always connect the battery first and the solar panels last. Connecting the S1 to the solar panels before the battery may cause unstable voltage and risk damaging your system.
Step 1: Mount the SolexBrick S1 Onto Your Solar Panel
• If you’re using OptiSolex solar panels, the S1 is designed to fit seamlessly — attach it using the provided mounting clips.
• Using panels from another brand? Use the included mounting brackets to securely fix the S1 in place.
• Tip: Mount the S1 firmly on a flat surface with good airflow underneath to avoid overheating.
Step 2: Connect the Power Extension Cables to Your Lithium Battery
• Attach the red (positive) wire to the battery’s positive (+) terminal.
• Attach the black (negative) wire to the battery’s negative (–) terminal.
• Important: Double-check polarity before connecting. Loose or reversed connections can cause serious issues.
• Use proper tools to ensure wires are tightly secured.
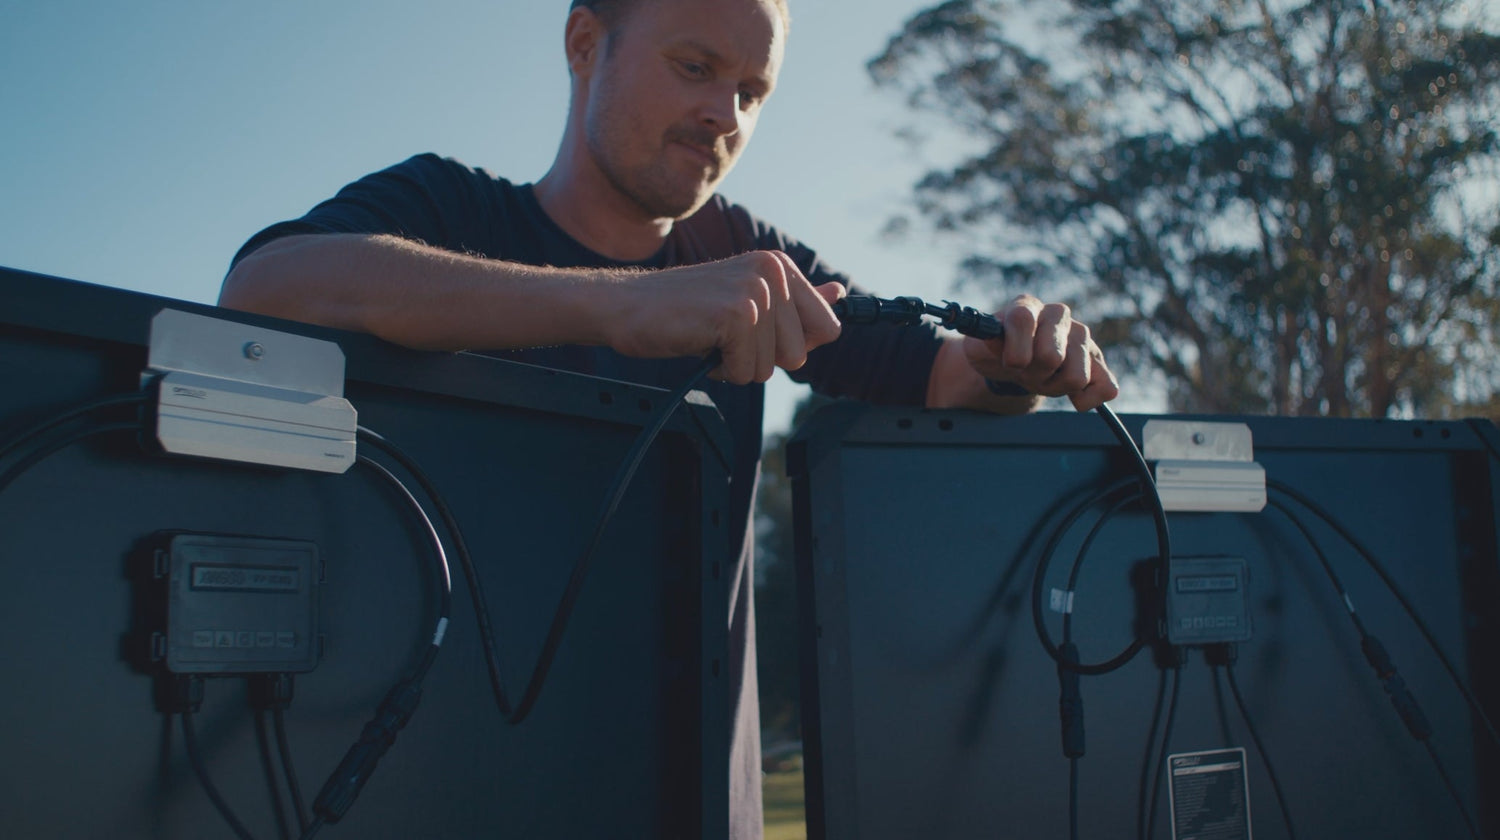
Step 3: Connect Your Solar Panels
• For multiple solar panels, connect them in series by linking the positive terminal of one panel to the negative terminal of the next.
• Note: Series connections increase voltage, so ensure the total voltage does not exceed the S1’s maximum input of 50 V.
Step 4: Wire the S1 to the Battery and Solar Panels
• Connect the longer output cables from the S1 to your battery’s power extension cables.
• Connect the S1’s shorter input cables to your solar panel array cables.
• Tip: Ensure all connectors click firmly into place to prevent accidental disconnections.
Reminder: The S1 Can Get Very Hot — Handle with Care!
The SolexBrick S1 is a powerful device, and with great power comes heat:
• Avoid touching the metal casing during operation or immediately after use—the surface temperature can reach up to 80°C (176°F).
• Always mount your S1 securely in a well-ventilated, shaded area to help it stay cool.
• Never cover the unit or place it directly on hot surfaces like black roof tiles, sand, or metal. Give it room to breathe!
Planning to Expand Your Solar System?
Step 5: Series Connection for Multiple S1 Units
You can expand your system in series or parallel connections.
Option A: Series
• Connect the output cables of each S1 in series, then run the combined output to your battery’s power extension cables.
• Connect each S1’s input cables to their respective solar panels or arrays.
• Keep the total power input per S1 under 230 W to prevent overload.
Option B: Parallel
• Connect multiple S1 units in parallel to increase system capacity.
• Ensure your battery or inverter’s maximum input capacity supports the combined wattage before connecting.
Congratulations! Your solar system is now set up and ready to start harvesting solar energy. Harness the sun and power your life — your OptiSolex SolexBrick S1 has you covered!
