Nothing is more frustrating than setting up your solar panels and seeing lower-than-expected output. But don’t worry—most of the time it’s not your panel’s fault. The OptiSolex 440W SolarBag has a maximum peak power of 440W. Under ideal conditions (clear sky, midday), it typically reaches the peak power. Output power decreases significantly during cloudy weather or at dawn/dusk. The actual output power will be affected by various factors, such as light intensity (depending on time of day, weather, season,etc.), sunlight incidence angle, ambient temperature, cable length, controller efficiency, and battery state.
Maximizing output efficiency could be challenging. That’s why we created AIM—a simple yet powerful approach to help you optimize your solar energy harvest.
AIM Method: A Simple Formula for Maximum Output
The angle at which you install your solar panel — including both its orientation (which direction it faces) and tilt (the angle it leans from horizontal) — plays a major role in how much energy it generates. Just like how plants grow best when they get sunlight from the right direction, solar panels produce the most power when angled properly.
Orientation: Which Direction Should Your Solar Panel Face?
If you can’t adjust it frequently in a day, here’s what you should do:
1. If you are in the Northern hemisphere:
• Position panels facing South with a tilt angle.
• Alternative: Lay panels flat on south-sloping terrain (tilted toward the south relative to horizon) for equivalent effect.
2. If you are in the Southern hemisphere:
• Position panels facing North with a tilt angle.
• Alternative: Lay panels flat on north-sloping terrain (tilted toward the south relative to horizon) for equivalent effect.
If your panel setup allows for adjustment throughout the day, you can track the sun to get even better performance:
1. If you are in the Northern hemisphere:
• Morning: Face east
• Noon: Face due south
• Afternoon: Face west
2. If you are in the Southern hemisphere:
• Morning: Face east
• Noon: Face due north
• Afternoon: Face west
Continuous tracking can maximize daily output.
Tilt Angle: How Much Should Your Panel Lean?
After determining the direction, we can further calculate the tilt angle.
Tilt Angle Calculation:
• The angle formula can be simplified to:
○ Summer: Tilt ≈ Your Latitude – 15°
○ Winter: Tilt ≈ Your Latitude + 15°
○ Spring/Fall: Tilt ≈ Your Latitude
Take Los Angeles as an example: The latitude is 34°N. The optimal tilt angle in winter is 34°+15°=39° while the optimal tilt angle for summer is 34°-19°=15°.
This tilt angle refers to the angle between the solar panel and the ground surface.

Common Mistakes:
1. Mounting the panel vertically (90° tilt) – Unless you're in extreme Northern or Southern latitudes (near the poles), this angle will drastically reduce output.
2. Place it facing north in the Northern Hemisphere and south in the Southern Hemisphere or away.
Always pay attention to both the orientation and tilt angle of your panel.
*For region-specific recommendations on tilt angles, refer to Appendix 2.
Proper installation is key to ensuring your solar system runs safely and efficiently. This means securely mounting your solar panels, using the correct cables, and verifying all electrical connections.
1. Connecting to a Power Station
Ⅰ. Determine the power station's interface type and select an adapter cable.
Ⅱ. Identify the system input voltage and current limits of your power station (especially when using multiple solar panels in series or parallel). Mismatched voltage may prevent charging or reduce efficiency.
Connection Sequence:
1. Connect the two sections of the SolarBag.
2. Connect the Solarbag's output cable to the adapter.
3. Connect the adapter cable to the power station.
4. Unfold the SolarBag.
2. Connecting to Batteries (via SolexBrick S1 )
Ⅰ. Check your battery's voltage (12V / 24V / 48V).
Ⅱ. Identify the system input voltage and current supported by the power station (especially important when linking multiple SolexBrick S1 in series or parallel). Mismatched voltage may result in failure to charge or insufficient power.
Connection Sequence:
1. Connect the two sections of the SolarBag.
2. Connect the SolarBag's output cable to the adapter.
3. Connect the adapter cable to the power station.
4. Unfold the SolarBag.
3. Troubleshooting: Not Charging or Low Power Output?
Follow the steps below to troubleshoot:
1. Sunlight Conditions: Is the panel in a sunny, unobstructed environment?
2. Wiring & Connections: Are all cables (panel → controller → battery) correctly connected? Are MC4 connectors plugged in tightly? Is the cable gauge the appropriate size?
3. Controller Settings: Is the controller input voltage within the operating range? Is the system output voltage within the controller output range? (For example, a 24V battery cannot charge a system with an output voltage of 15V.)
4. Battery: Is the battery fully charged? Is the battery damaged or in over-discharge protection?
5. Obstructions: Are there any shadows on the panel surface? Are any cables damaged?
6. Protection: Verify proper operation. Otherwise, a protection function may have been triggered. Wait 10 minutes or discharge the battery for a period of time and reconnect again.
M: Maintain for Long-Term Power
Keep your solar panels clean. Dust, dirt, and debris can block sunlight and reduce efficiency. Regular cleaning, especially during dusty seasons, is essential. Also, check for any signs of damage like cracks or loose brackets periodically.
Dust, dirt, snow, or fallen leaves can block sunlight and reduce power output. During active use — especially in dusty or leafy environments — daily cleaing is recommended.
• Regular cleaning: Gently wipe the glass surface with a soft damp cloth or sponge to remove dust, bird droppings, leaves, or other debris. Never use abrasive cleaners or pressure washers.
• Protect connectors: Keep connectors dry and clean; Prevent sand/dust ingress. Ensure panels are completely dry before storage.
• Long-term storage: After cleaning, store panels in a cool, dry place away from direct sunlight.
1. Avoid Trampling/Heavy Pressure
➤ The crystalline silicon in the panel is fragile. Trampling or placing heavy objects on it can cause hidden cracks or breakage (even with a protective film).
2. Preventing Scratches from Sharp Objects
➤ Keep hard objects such as knives and keys away. Use soft cloth for cleaning, and avoid using steel wool.
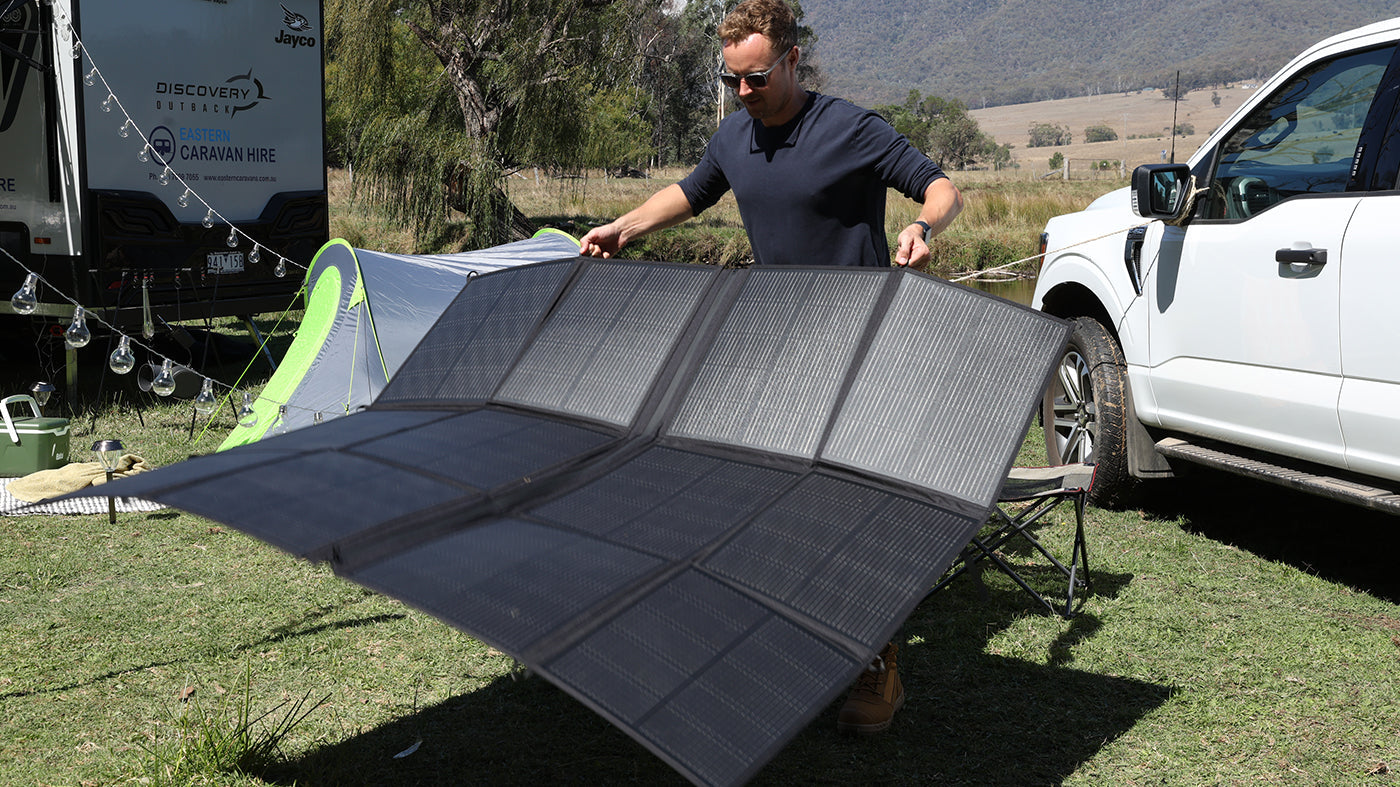
3. Proper Folding (Flexible Panels)
➤ Gently fold along the designed creases; avoid forcibly bending the solar panel.
4. Wire Protection
➤ Avoid tying dead-end knots to prevent the internal copper wires from breaking.
Protection Against the Environment
1. Avoid Extreme Temperatures
➤ High Temperatures (>80°C): Avoid exposure to extreme temperatures, as this may cause delamination and deformation.
➤ Freezing conditions: Always remove snow and ice before storing, as freezing can cause cracks on the surface.
2. Severe Weather
➤ Hail/Strong Winds: Pack up immediately.
➤ Using near the Ocean: Rinse with freshwater after use to remove salt and prevent corrosion of wiring and connectors.
3. Prevent Sand and Dust Accumulation
➤ Tilt the panel to reduce sand buildup.
➤ Use an air blower to remove sand (friction can scratch the panel).
⚡How much power can I get from using a SolarBag at noon in the United States?
Different latitudes mean different solar radiation. The following is an estimation of power parameters by the 440W SolarBag when laid flat at various latitudes across the United States at noon in July:
|
Latitude(°N) |
Region |
UV intensity(W/m²) |
Solarbag Ouput(W) |
|
20°~30° |
Hawaii, Southern Florida |
960~890 |
360 |
|
30°~40° |
Texas, California, Arizona |
890~690 |
320 |
|
40°~50°
|
New York, Illinois, Washington |
800~550 |
280
|
|
50°~60° |
North Dakota, Inner Alaska |
690~400 |
220
|
Want to dive deeper? Check out our full SolarBag User Guide for detailed tips. Got questions or want to share your setup? Email us at support@optisolex.com or join our OptiSolex Facebook Group to connect with other solar users.